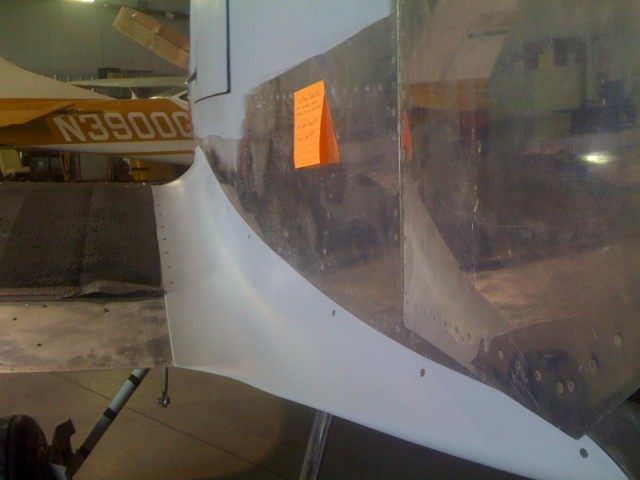
The wing fairings were purchased from Jesse Saint. The fairings come complete with attaching hardware, matched holes to wing and holes for mounting to the fuselage. I will attach the fairing to the wing using the #8 screws and #6 screws in the fuselage. The fairings will be painted attached to the wing. Inspection of the wing root can be done by removing the Van's aluminum cover on the bottom of the wing. The fairing's initial fit show that there will be little modifications needed to custom fit to my aircraft. Overall the fairings are excellent.
These pictures show the trial fit of the fairing to the fuselage. I am in the middle of hooking the electrics up in on the instrument panel. After that is complete, more information will be shown of the fairing attach process.
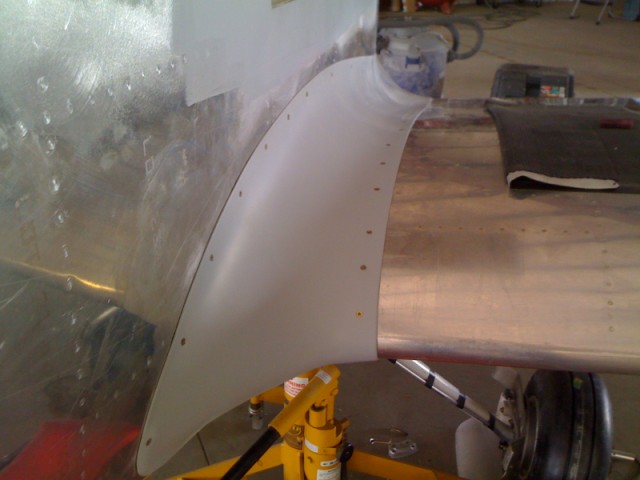
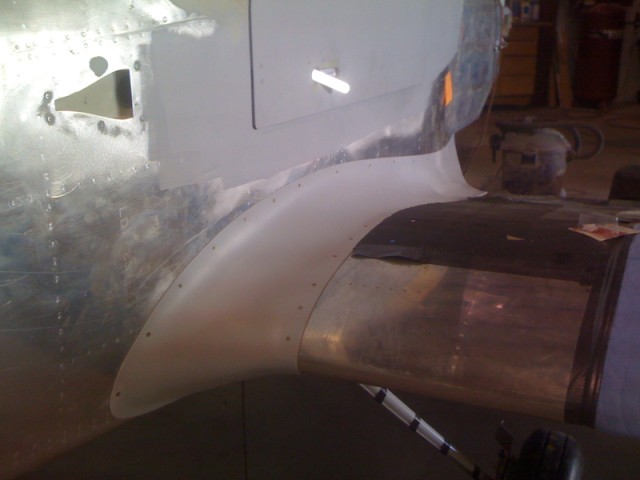
After getting the instrument panel operating correctly, I decided to take a break from wiring and attack the wing fairings. Even though the overall appearance of the fairings were excellent, I did need to correct some fit issues. Mainly the way the fairing fit over the flaps. With the fairings installed the area over the flaps was about 1/2" above the flap and a little warped. I attached the fairing with clecos and used a few #8 screws to position the fairing. I cutout the area over the flap. Mixing some foam I poured it over the area to redo. After the foam had setup, I shaped the foam to match the rest of the fairing. I used 7 layers of 10oz cloth over the area (to match the thickness of the fairing).
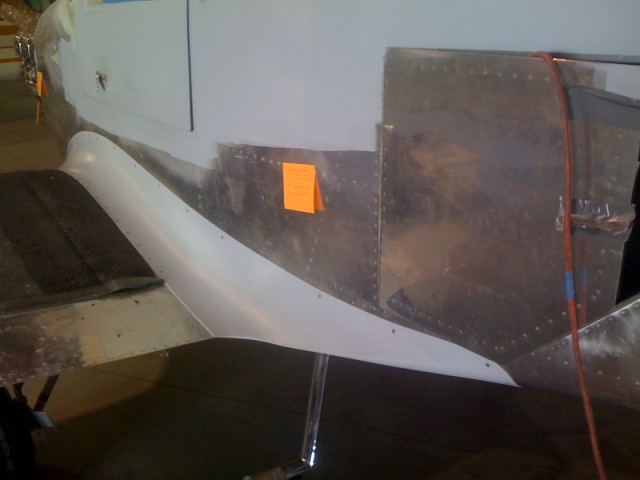
After correcting the flap to fairing fit, the aft edge of the right fairing did not follow the fuselage. It was going to take a lot of force to push the fairing into position, so I decided to extend the aft edge of the fairing to match the fuselage. Again I mixed some foam up and using duct tape to hold the the foam concoction in place. The foam was sanded to shape and then glass was applied over the area. The final fill and shaping are not shown in these pictures.
The front edge of both fairings fit pretty good after some adjustment of the clecos. Since not all -10s are the same, the mounting holes provided did not match up very good. These holes were filled with an epoxy flox mixture, then the holes were drilled to match the wing.
The fairings come with a slot in the bottom to clear the entry step. I decided to clean this area up with a close out around the step. I made two flat lay ups on my work bench for the close out. After cure, I transferred the shape of the slot to each of the lay ups. After I had a snug fit, I glassed a 3/4" lip around the inside of the lay up. Using a scrap piece of paper, I determined the shape of the gear for the clearance hole and then cut the hole with my dremel tool. The outside half of the layup is epoxied to the fairing. The inner piece is mounted with 4 screws -- 2 for the layup to fairing and 2 for the fairing to the fuselage. The inner piece is installed after the fairing is in place.
The finished fairing installed and primered
|
|
|
|
|
|
|
 |
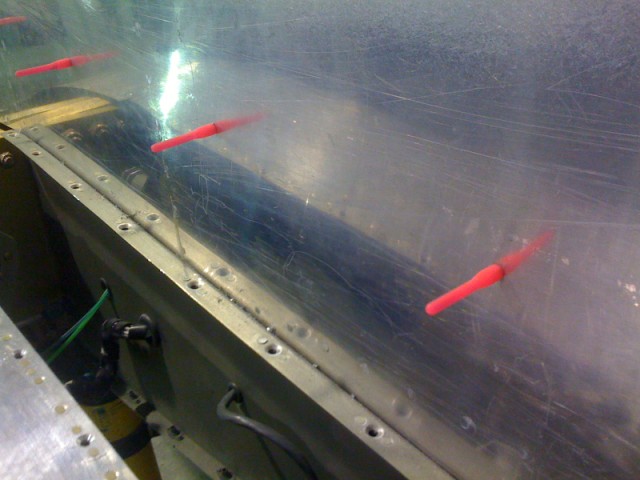
#8 clickbond nutplates |
|
 |
clickbond nutplates installed |
|
|